Ever imagine what would happen if one of your engine throttle, shift, or stop cables were to fail? It would surely happen at the very moment a ferry was bearing down on you, when you were docking, or when you were going through the locks. I’ve heard from more than a few people of their cable failures, so it does happen, and it would turn your day into a real bummer.
My cables were all original from 1990, the operation a bit stiff and sticky, and showing some signs of corrosion. I’ve heard the recommended replacement interval for these cables is five years, so Island Time was definitely overdue. Heck, I replace the cables on my bike every couple of years, so having 25 year old cables on Island Time made me a little nervous.
Why do this?
- Piece of mind knowing the cables are new, and should not fail on you in the near future.
- The recommended replacement interval is five years.
- You will be surprised how much smoother the operation is after replacing the cables.
- Further your knowledge of your boat and its systems.
What is the difficulty level, time commitment, and cost?
- Anybody with a basic tool kit (screw drivers, wrenches) and some basic mechanical aptitude should easily be able to do this.
- Depending on how accessible your cables are, I’d budget a full day or two for this project.
- For the three cables, I spent about $150 total.
Steps:
I did not know how long my cables were, so I had to remove them and measure them before purchasing new cables. Some cables have the length stamped on them. If yours do, you’re in luck and can purchase new cables beforehand.
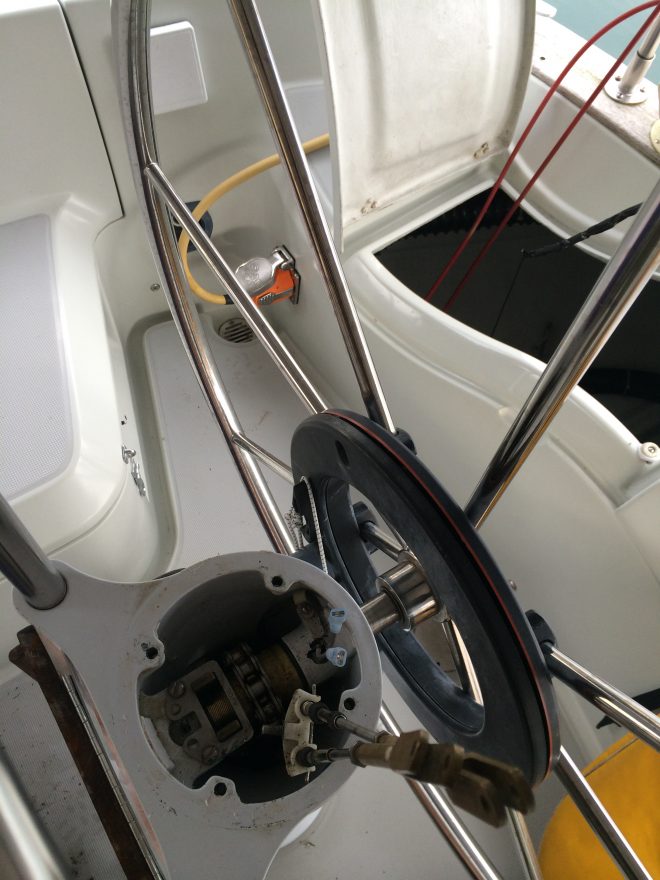
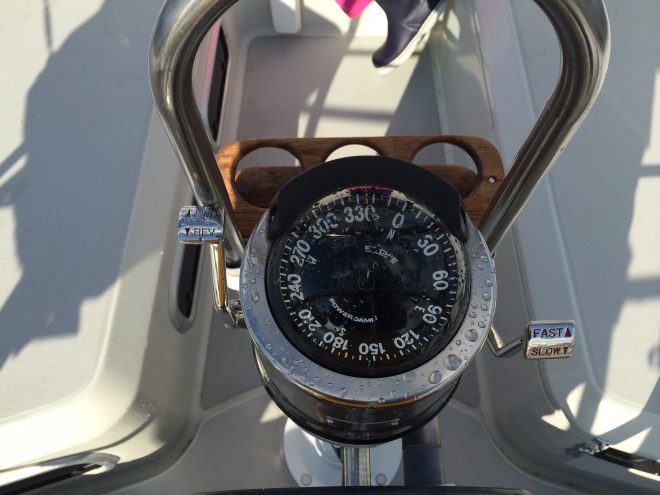
First, remove the compass to obtain access to the cables at the steering pedestal. It was just a few screws in my case.
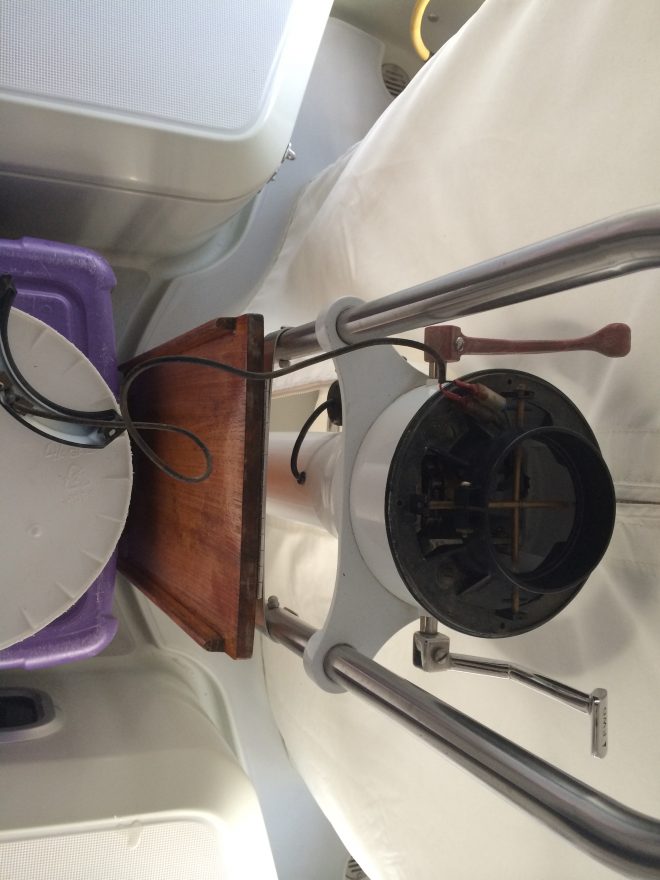
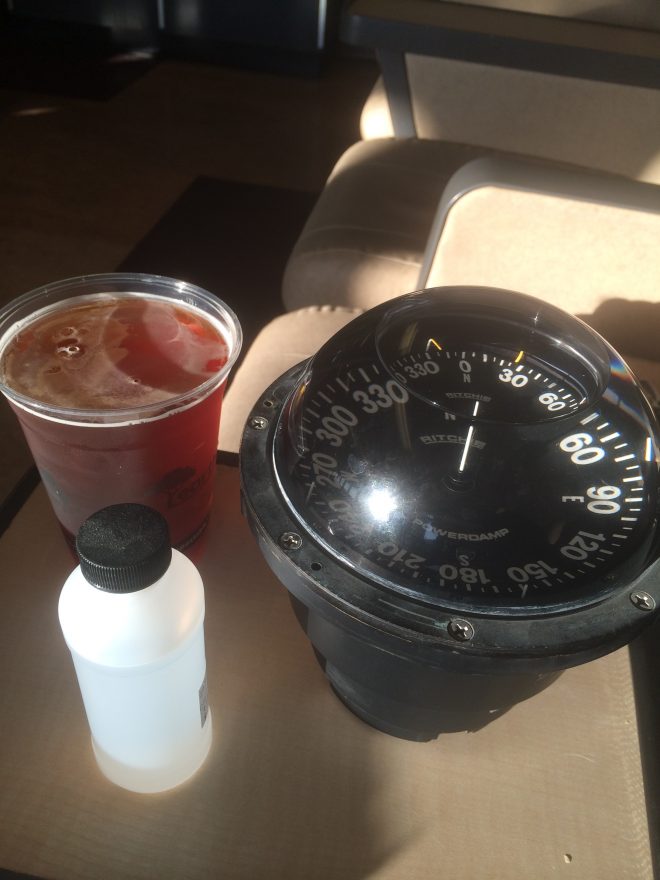
I took this opportunity to fill the air bubble that was in my Ritchie Globemaster compass. The nice folks at Captain’s Nautical hooked me up with some fluid. It was a simple matter of removing the fill screw on the compass and topping the fluid off with a syringe.
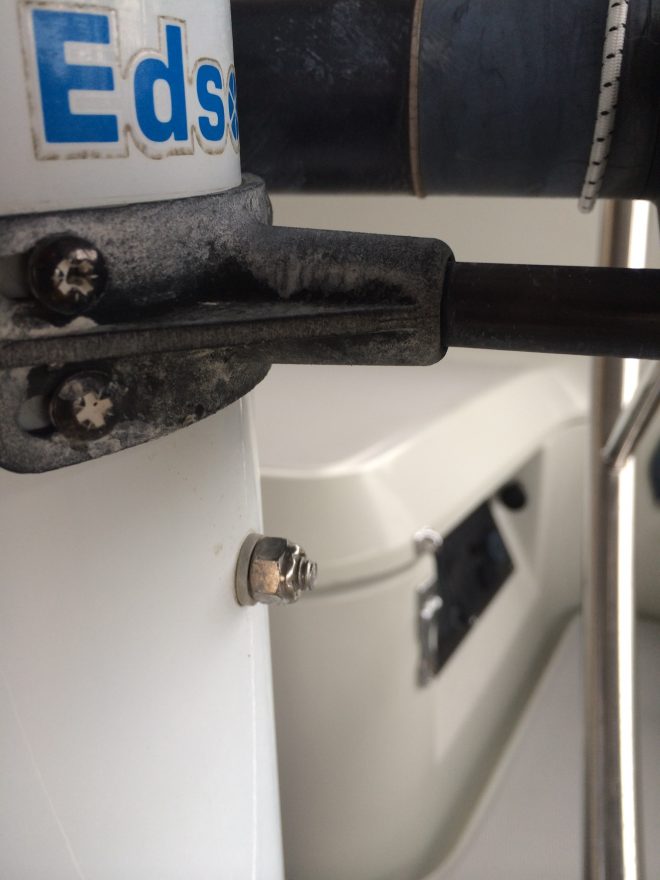
Next, find an assembly drawing of your particular pedestal. I have an Edson pedestal and the assembly drawings were easy to find online.
To disconnect the cables, there is a cotter pin connecting the linkage on each of the levers. Remove these with needle nose pliers. The level assembly should come off now.
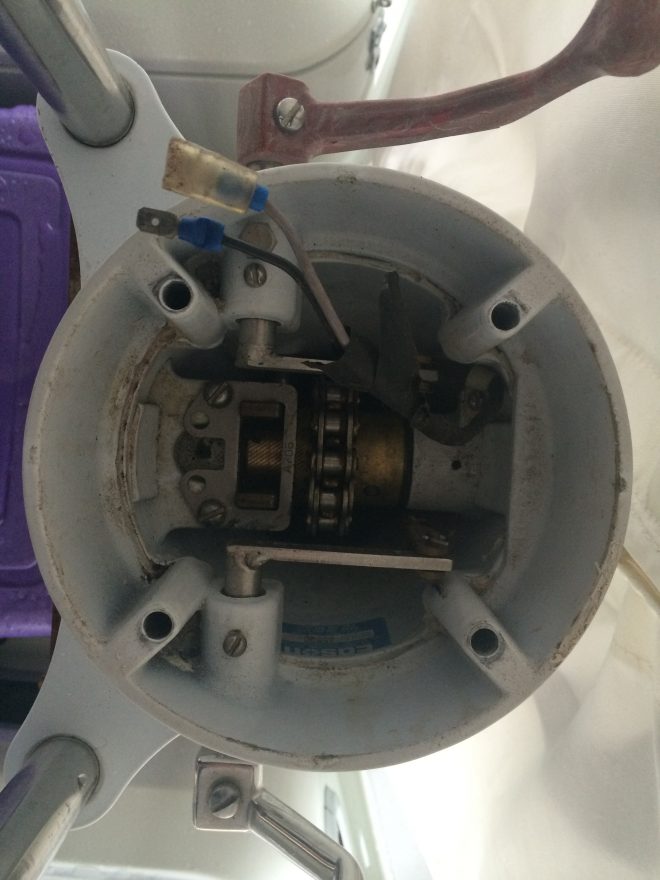
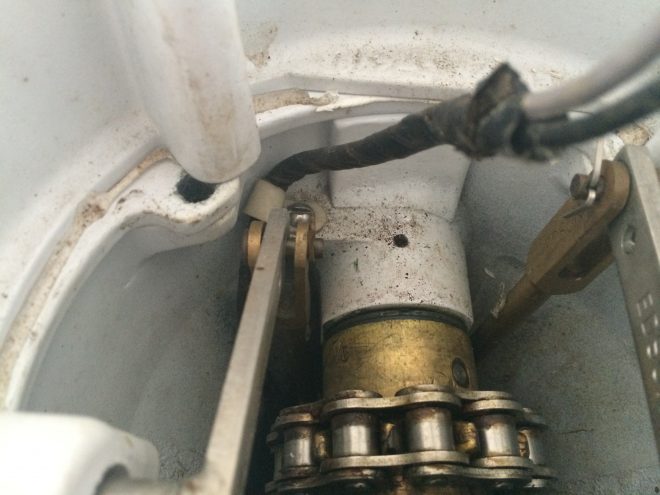
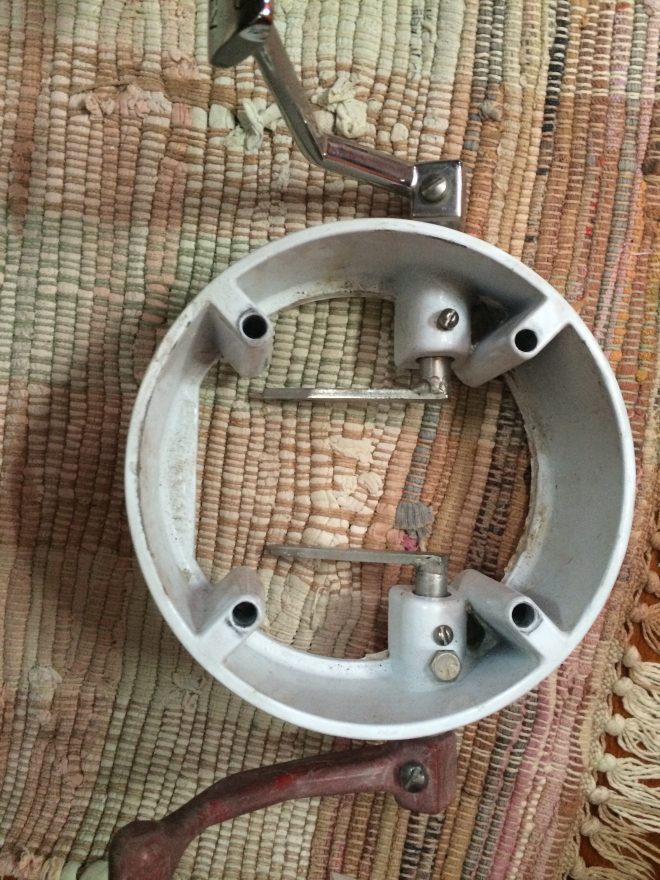
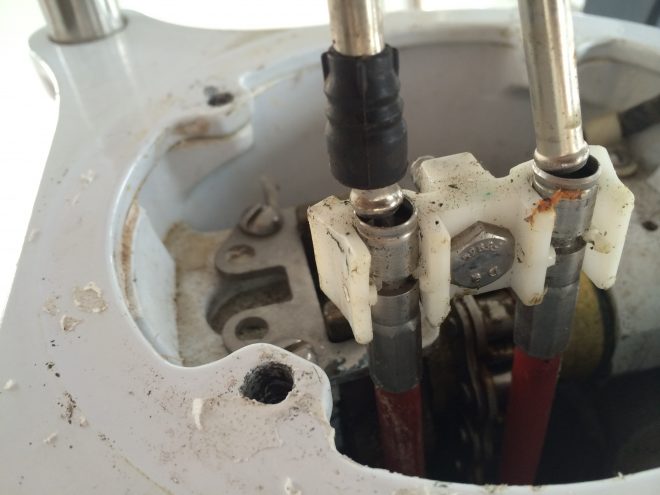
There should be a bolt holding a plastic cable retaining device on the pedestal like the shown in the photo below. Remove the nut and washer, and the cables should be free to pull out now, but hold off on that until later.
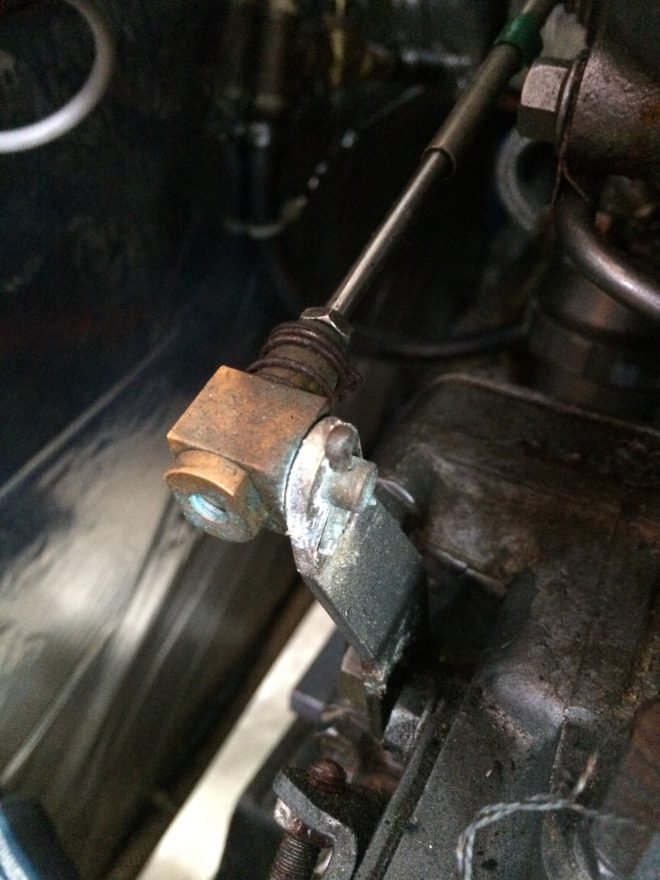
Locate the connection points of the throttle and stop cables on the engine, and the shift cable on the gear box. They should be pretty self-explanitory on how to remove by looking at them. Below is a photo of the throttle cable termination on my Yanmar 3HM35F.
Trace out the best you can where your cables are routed in your boat and what it’s going to take to remove and fish new cables in. All my cables were pretty accessible, and only a minor amount of contorting was needed. I removed the access cover for my fuel tank in the aft cabin, and also the steering quadrant access cover to get complete access.
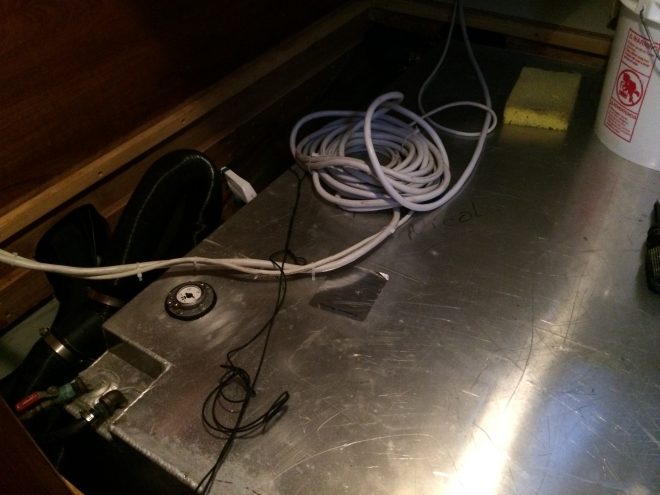
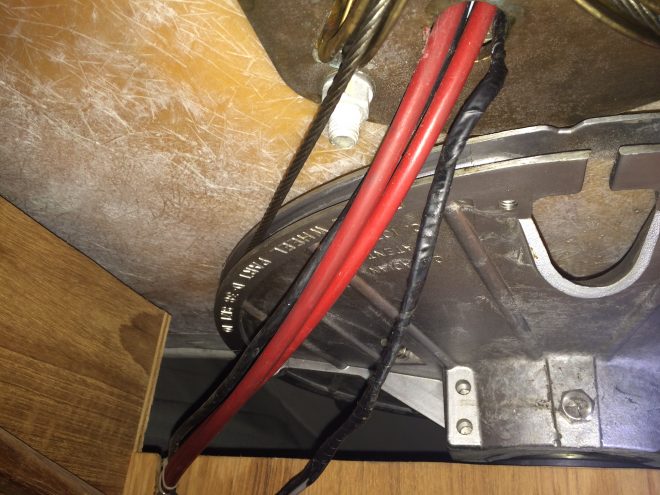
Tie a strong messenger line to the inside the boat end of each cable, and begin to pull them out through the pedestal (my stop cable was near the engine control panel). The messenger line is critical to fishing the new cables in.
To pull the cables out through the pedestal, some people say you need to loosen the steering chain. However, I did not need to. With the help of a very long screw driver and a bit of patience, I was able to push the two cables down below the steering wheel shaft and pull them up through one side.
With the old cables out, measure them and purchase some new ones.
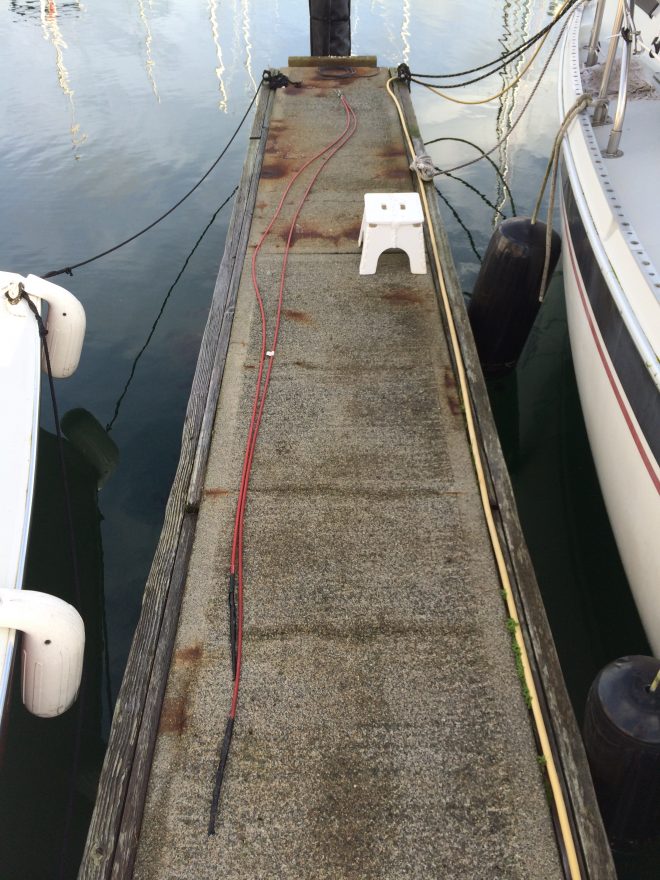
Teleflex is the major manufacturer. I was able to find new cables at Fisheries Supply.
Congrats! You’re now about halfway done! Once you get the new cables, fish them back in the opposite way you took them out. Do your best to avoid any drastic turns. Make long sweeping turns so the cable moves freely inside the housing.
With the cables fished back up through the pedestal, re-attach the plastic retaining piece and screw back on the bronze connectors.
Push the bronze connectors down and under such that one comes up on each side of the pedestal. Make sure you have them on the correct sides! Now, try and align that bolt on the plastic retaining piece with the hole on the pedestal and stick it through and then screw the nut back on with some Loctite.
Re-connect the levers to the bronze connectors with new cotter pins, and screw the compass back on. Please – use some sort of anti-seize compound when putting fasteners together. This will help ensure you can take it back apart at some point down the line. I use Lanocote. It’s a natural product derived from wool.
I also replaced that unsightly pink plastic throttle lever with a new metal one.
I was impressed with how much smoother the cable operation was after replacement.
-over and out-
