Island Time had the original vinyl coated stainless steel lifelines and old school pelican hook gates when we purchased her. The vinyl was in pretty rough shape, and you could see rust seeping out in places. I’ve heard too many stories of these things letting go without notice, so installing new lifelines was on our priority list.
We had the following options:
(1) Replace lifelines with new vinyl coated wire, like the original: We didn’t really consider this as most we’ve read online from the “experts” was not to go this route, and this type of wire is not even allowed for offshore racing sail boats. The problem is the unnoticed corrosion under the vinyl and potential for catastrophic failure that can result.
(2) Replace lifelines with new un-coated stainless wire: We seriously considered this route and even got some quotes, which ranged from about $800-$1,000.
(3) Replace lifelines with high-modulus rope, such as Amsteel: We read up quite a bit on this approach, and decided it was worth pursuing. We liked how we could do all the work ourselves, it weighed substantially less than steel wire, and it was a simple set-up. We ended up spending maybe $400, including all the hardware. True, Amsteel will not hold up as well as stainless steel wire, but replacing frayed sections of Amsteel is cheap and we can do it ourselves if needed, with no special tools.
Here’s what we used:
- 1/4″ Amsteel rope for the lifelines
- 1/8″ Amsteel rope for the lashings
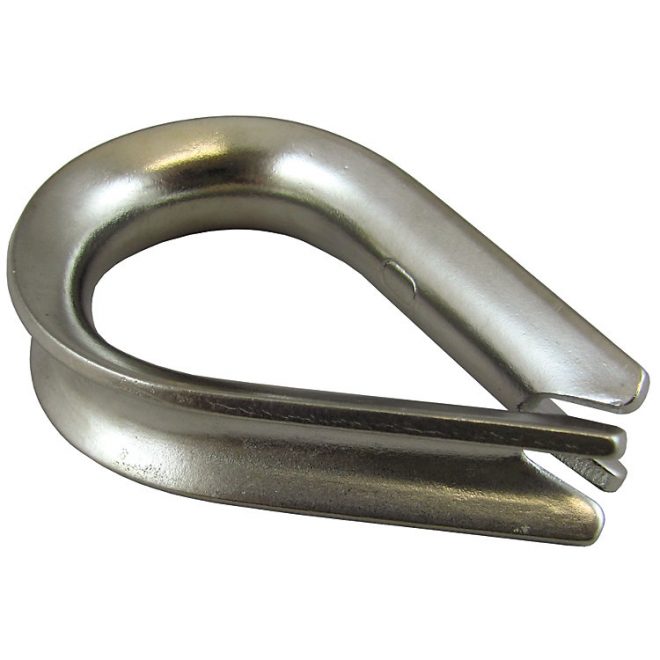
- 1/4″ stainless steel thimbles for the ends
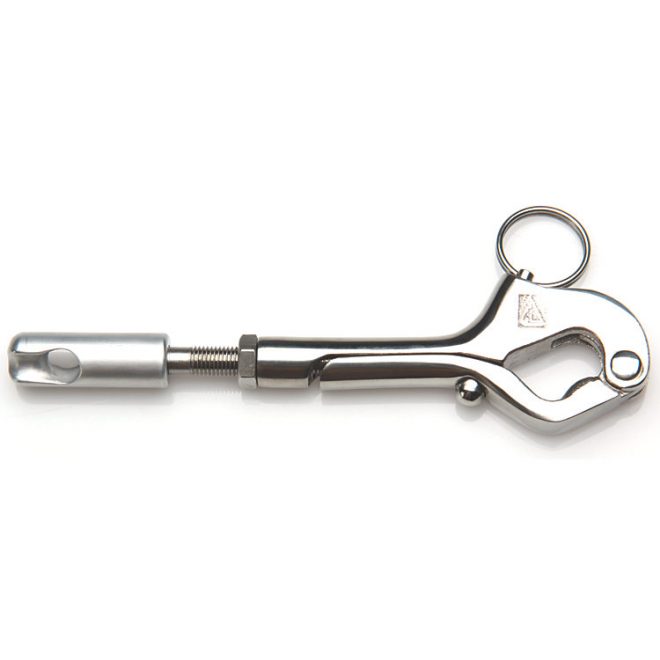
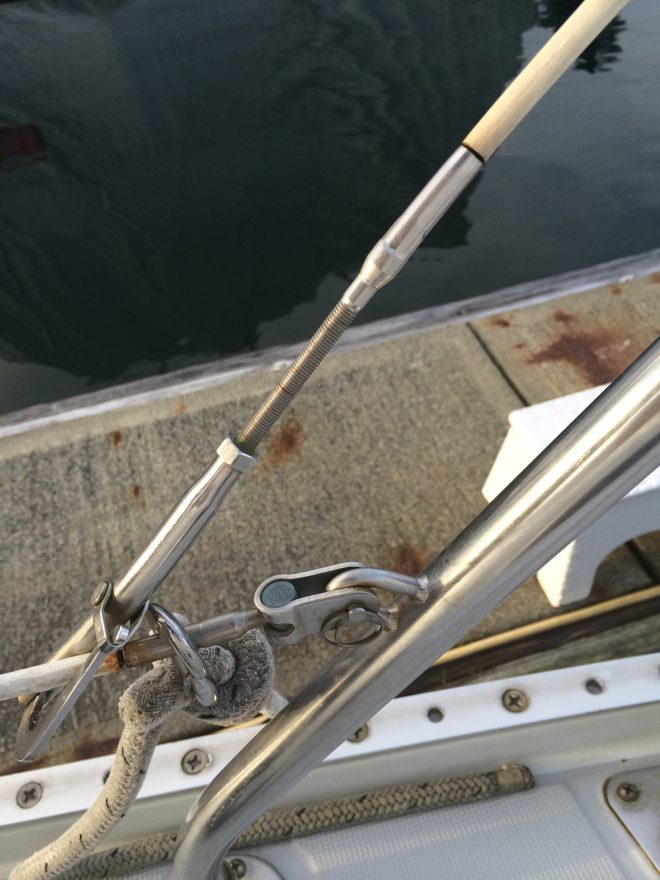
- Johnson Marine splice end to end fitting
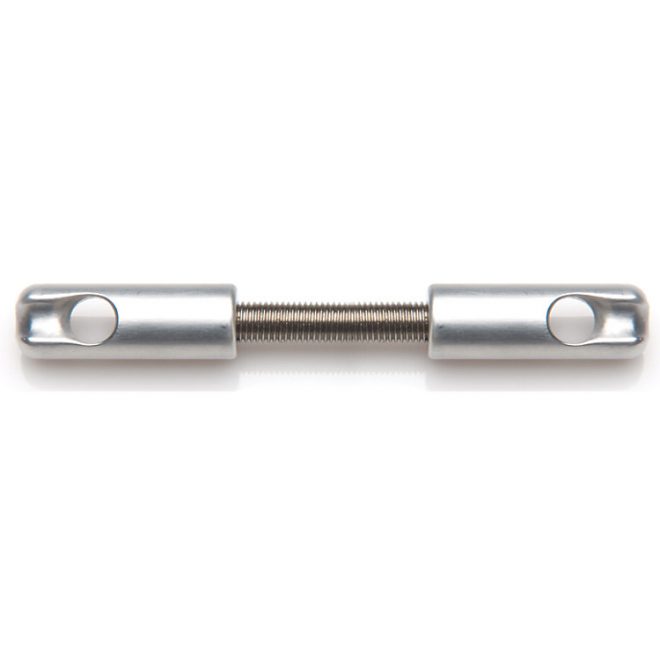
We chose to attached the lifelines with 1/8″ Amsteel lashings, as opposed to specialty metal barrel adjuster hardware because it was simple, inexpensive, easy to adjust, and easy to install. Buying all that extra hardware could have easily added another $300-400 to the project. For the lashings, 1/8th” Amsteel is about $0.59 per ft and the thimbles were about $1.49 each. We just used the Johnson Marine hardware shown above for the gates.
Here’s the Steps:
(1) Take off all the old lifelines and hardware and throw it in the trash.
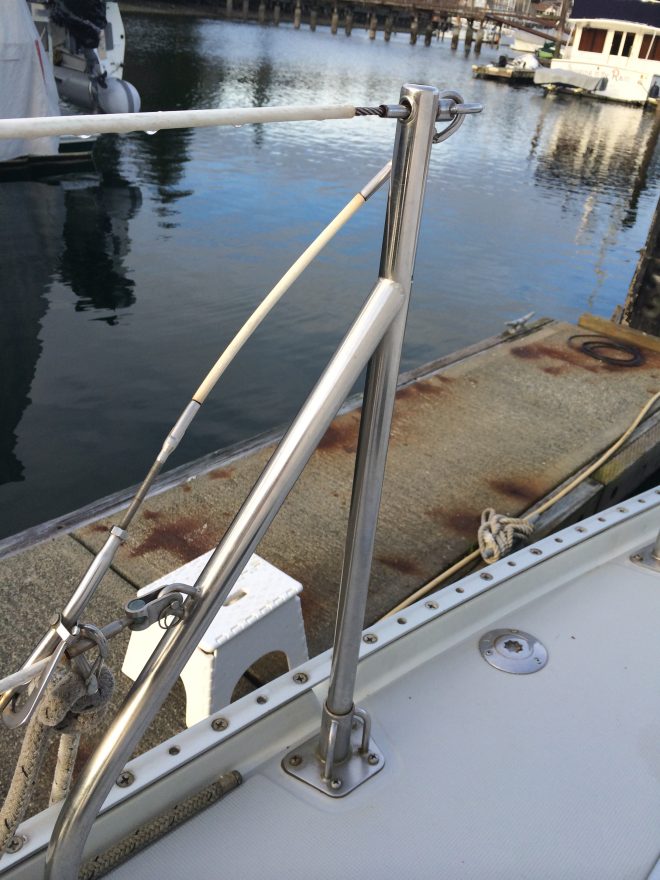
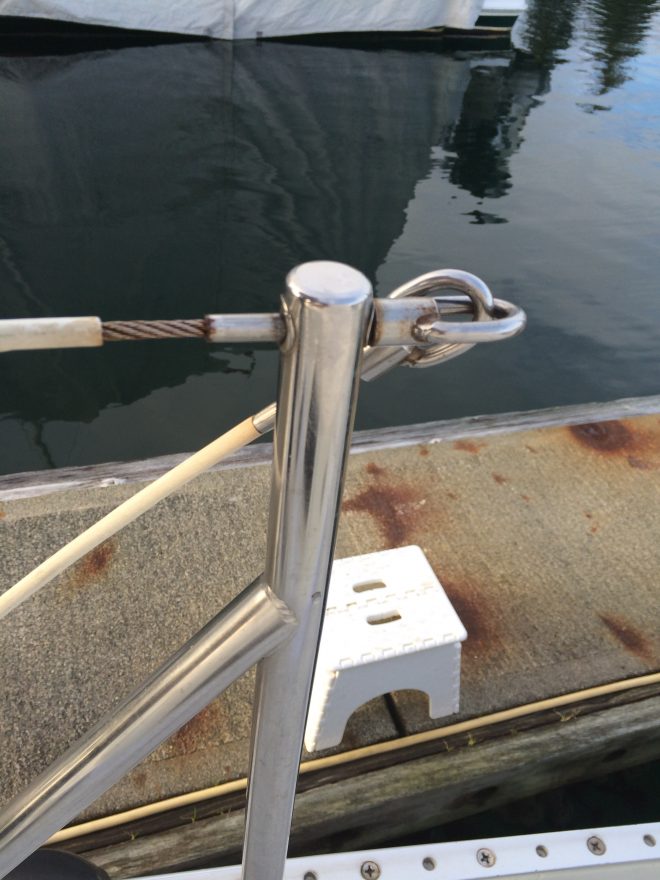
(2) Now’s a good time to polish up your stanchions with some metal protectant/restorer. Be sure to get inside of where the lifelines go through, and check for any chafe point or burrs and smooth them out.
(3) Learn how to do a Locked Brummel Splice. Once you’ve done a couple of practice Locked Brummel Splices, you should be able to knock one out in under 20 minutes, 10 minutes if you’re really good.
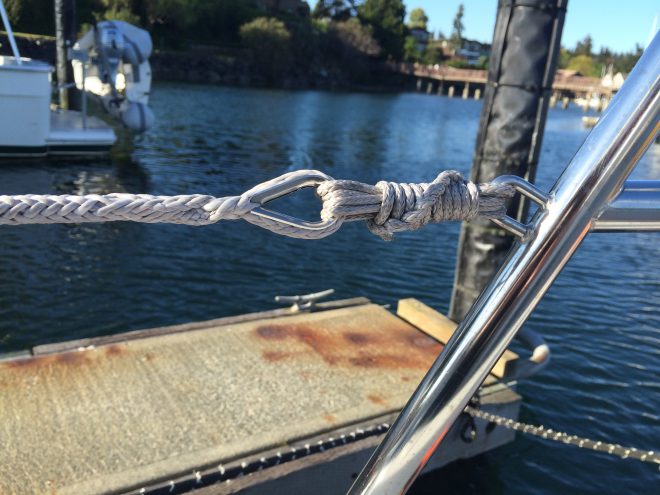
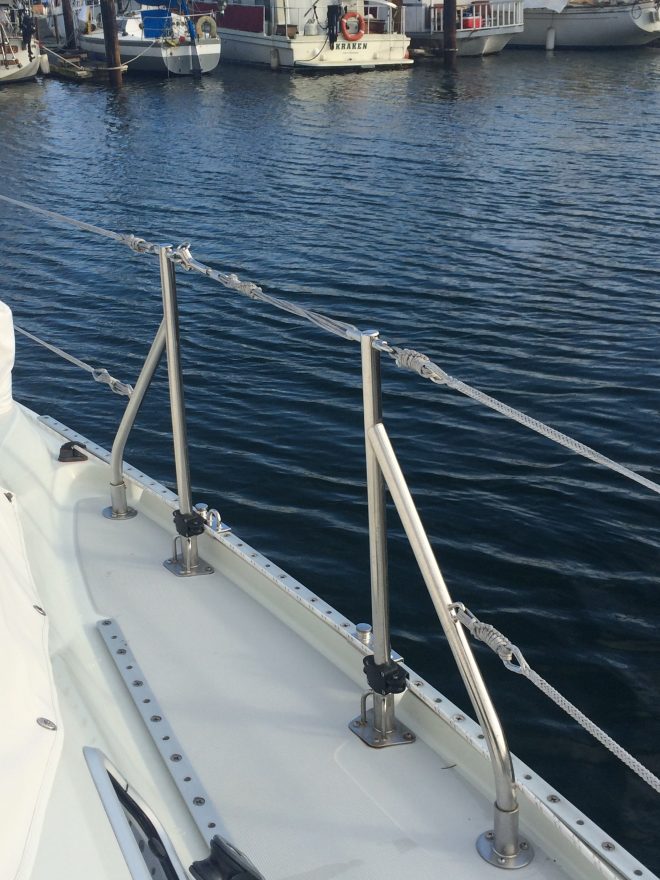
(4) Make a Locked Brummel Splice around a 1/4″ stainless steel thimble. Fish the other end of the rope through the stanchions. Make another Locked Brummel Splice around a thimble on the other end. The goal is to have about 4-6″ of space between the thimbles and the attachment points, so as to allow for the lashings and adjustments.
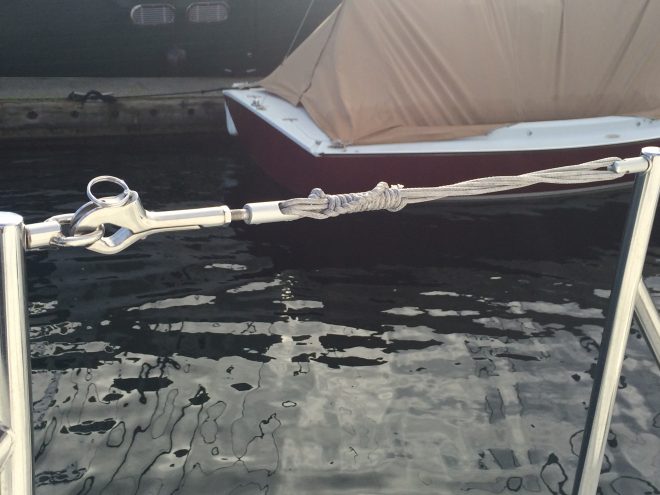
(5) Lash the ends. To do this, you will need about 5-6 feet of 1/8″ Amsteel rope per lashing. Tie a water bowline to the fixed end. Then, do at least 4-5 turns around the attached end and thimble. Snug it up and make it look neat, then do a lot of half hitches to secure it. Do the same thing on the other end. Let the lifelines stretch for a period of time, then adjust the lashings, and then seize the half hitches.
(6) For the gates, just attach to the splice end of the hardware.
Once you get the Locked Brummel Splice down, I’d budget a good sunny weekend and several beers for this project. You can even break the project it into pieces and only do sections at a time.
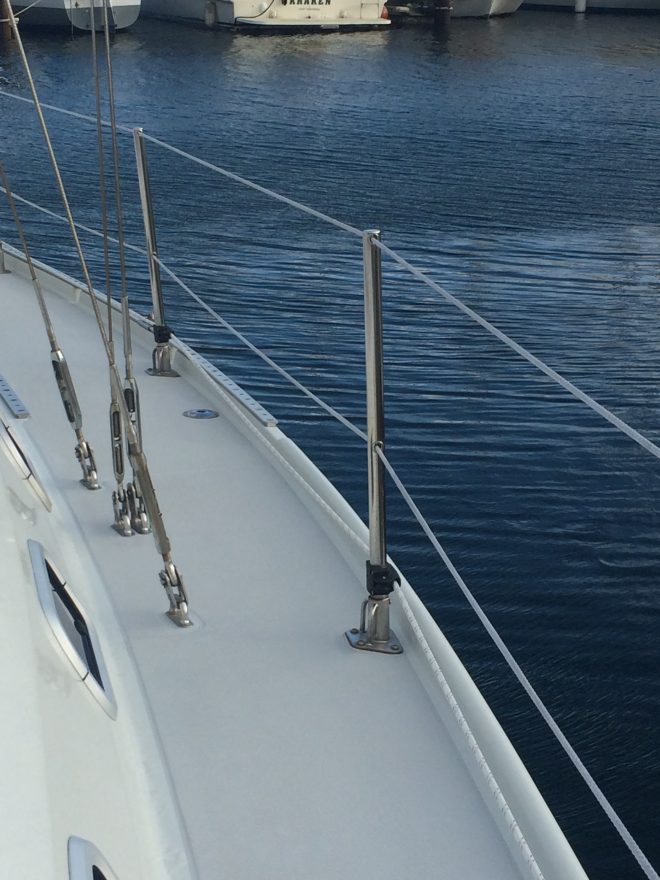
I’m confident you could probably rip the stanchions off the boat before the Amsteel lifelines would give way. In the long run, you’ll want to monitor for chafe points and any other degradation, and adjust the lashings for proper tension. With the little amount of harsh UV sunshine we get in the Pacific Northwest, I’d think these lifelines should last years.
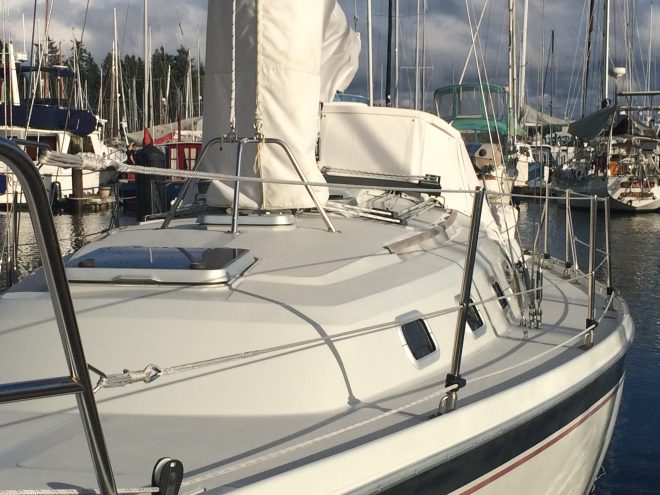
I was amazed at how much the new grey Amsteel lifelines improved the appearance of our boat. My first thought was it was like getting a new pair of shoes for Island Time.
-over and out-

I redid mine as well, using Amsteel. Rather then using your approach, I eye-spliced all of my connections which is cleaner.
LikeLike